¶ Problem
Additional disks do not stay mounted after clicking them in a GUI file manager.
¶ Cause
This due to the disks not being properly mounted in fstab. You can manually edit the fstab if you have the competence to do so, or you may make use of the GUI utility GNOME disk utility called simply disks in the application launcher.
¶ Solution
Install GNOME disk utility (called disks) from the Software, Cosmic Store, or Discover. Or install via the terminal with pikman install gnome-disk-utility.
Launch disks
Note Your actual device name, serial number, and UUID will be different

Select the volume you wish to mount by highlighting the box associated with the drive as shown above.
Click the second box from the left under the volume which will be labled additional partition options .
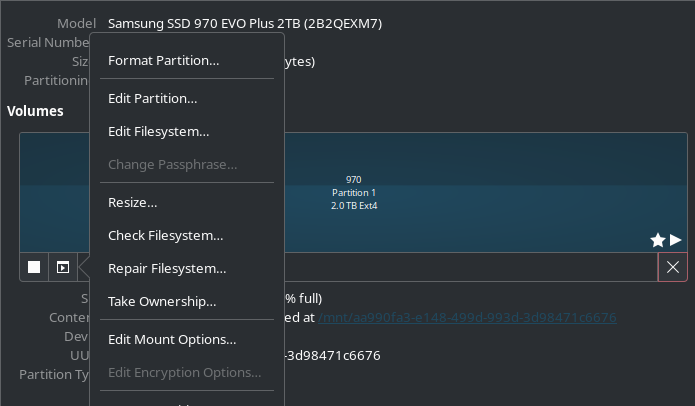
Select Edit Mount Options
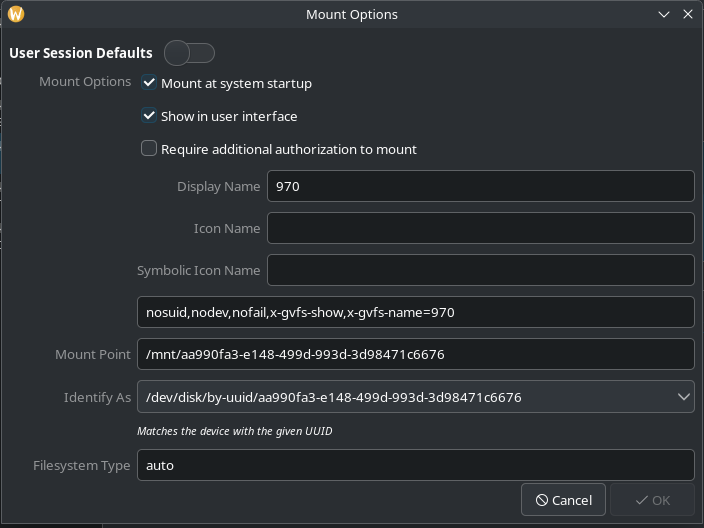
Deselect User Session Defaults as shown in the image above.
Select Mount at system startup.
Enter a display name for the drive that you would like to see in the file manager and Steam.
Select OK to complete the screen.
Note If Steam was open during this edit, you will have to close it and reopen it in order for the drive name to appear in your list of available drives.